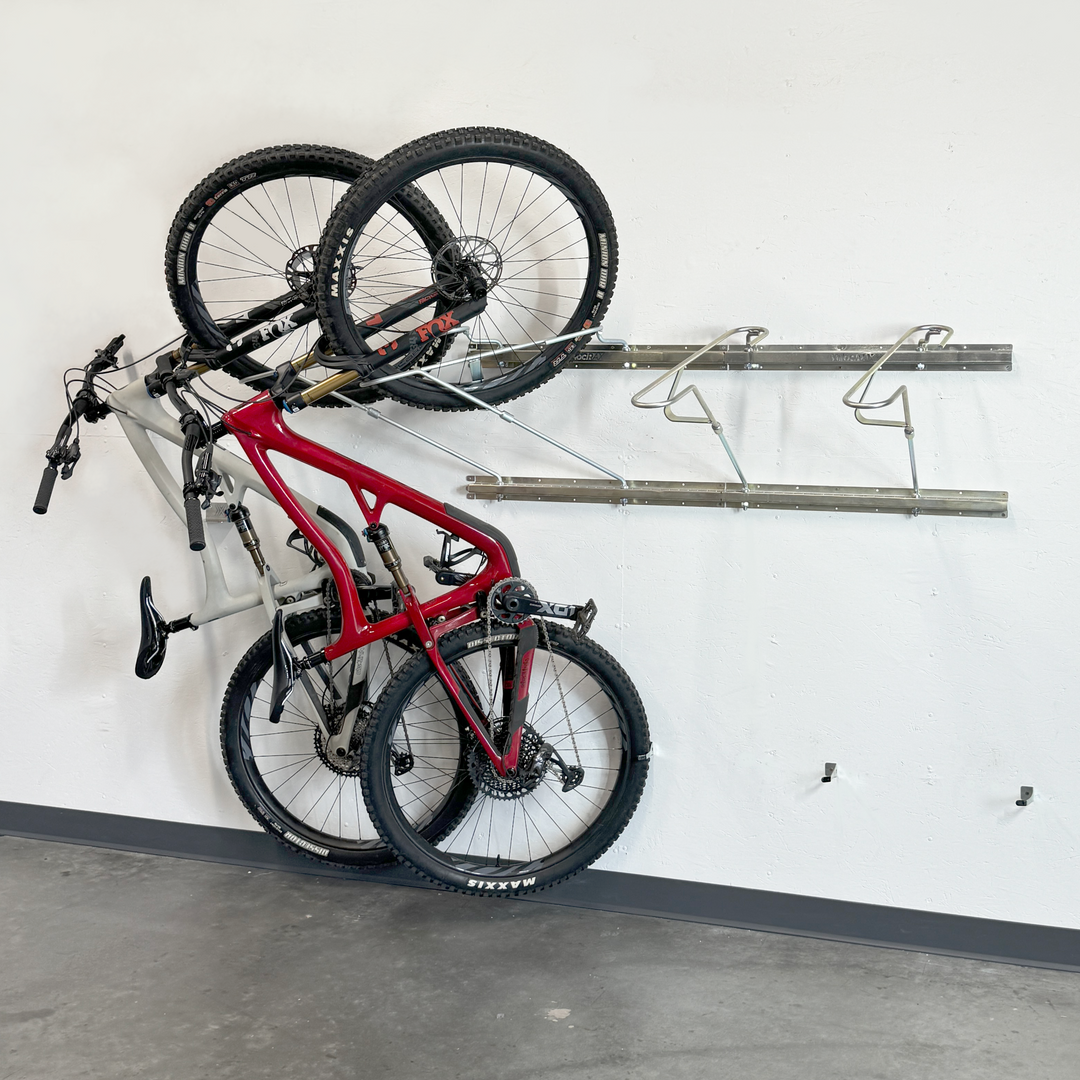
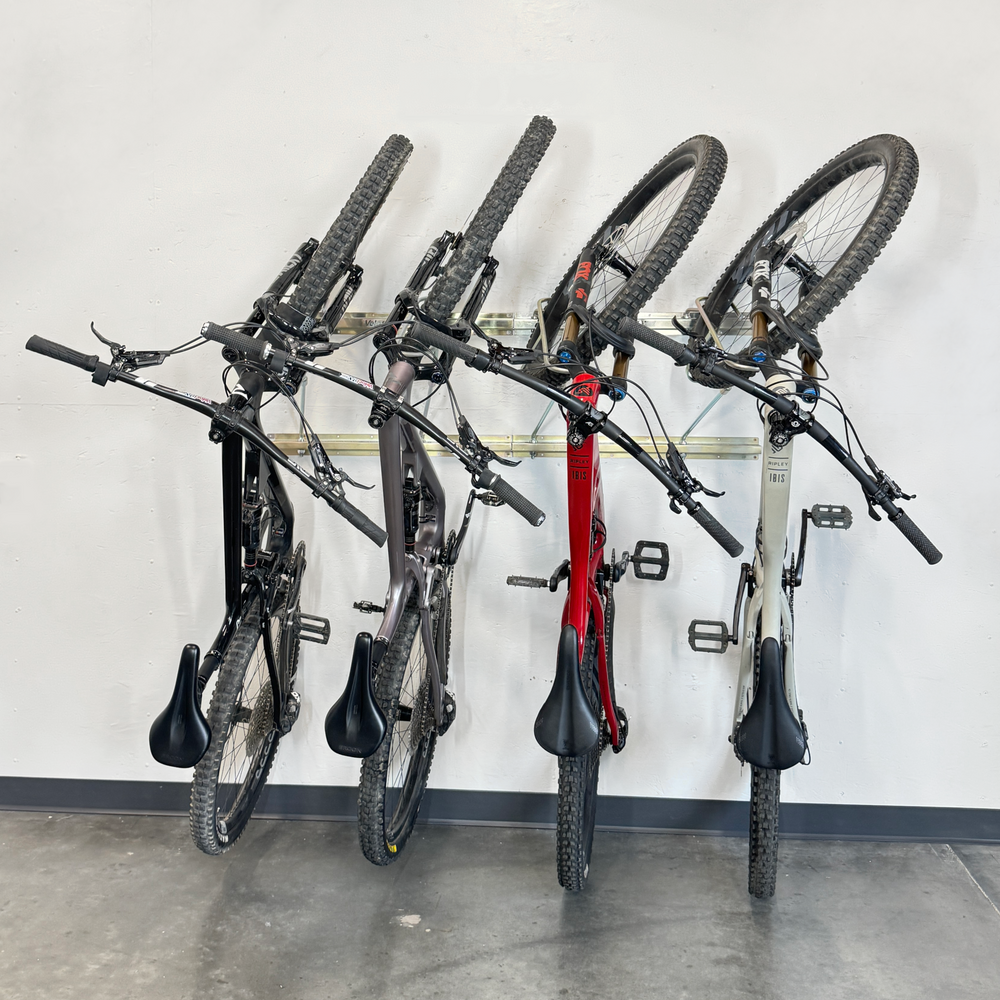
Five Pro Tips for Spring Bike Rack Maintenance on Your VelociRAX
As we wait for the snow to melt and the trails to dry, it’s time to get your VelociRAX hitch-mount bike rack ready for the new season. Built to last, VelociRAX bike racks can take a beating but a little TLC will extend its lifespan. If you’ve got ten minutes, we’ve got four pro tips for spring bike rack maintenance to keep your VelociRAX bike rack in prime condition.
Supplies You’ll Need for Maintaining your VelociRAX
Before we get started, you may want to have on hand:
-
24 mm Wrench or Socket (center post)
-
17 mm Wrench or Socket (anti-rattle)
-
19 mm Wrench or Socket (crossbars)
-
18 mm Wrench or Socket (crossbars)
-
13 mm Wrench or Socket (tire baskets)
-
6 mm Allen Wrench (tire baskets)
-
Rubber Straps (possibly)
-
Shop Towels or Paper Towels

Bike Rack Maintenance Pro Tip #1: Check Your Straps for Wear
Over time, the rack straps can develop cracks and tears. You’ll want to inspect and stretch your straps to see any signs of cracks or tears. If so, no worries. You can easily buy new replacement straps from our website. Replace the straps, and your rack will be ready for the new season.
Want more rack tips? Watch our Rack Tech Tips videos.

Bike Rack Maintenance Pro Tip #2: Check That All Bolts Are Tight
If your rack sees a lot of action, the bolts on your VelociRAX bike rack can loosen over time. We always recommend you check all the bolts on your hitch-mount bike rack before putting it on your car. What to look for:
-
Check for any wiggle room between your center post and your two supports. If there’s any play, use a 24 mm wrench or socket to tighten the bolts. You’ll want to tighten them to roughly 60 ft-lbs.
-
Check the crossbar bolts for any give and tighten as necessary. We recommend 16-18 ft-lbs for the top bar and 7 ft-lbs for the bottom bar. (DO NOT OVERTIGHTEN.)
-
Check tire basket bolts for any give and tighten them as necessary. We recommend 6 ft-lbs. (DO NOT OVERTIGHTEN.)
DON’T TIGHTEN YOUR ANTI-RATTLE BOLT JUST YET. We have some maintenance to do on the anti-rattle, so don’t worry about this bolt until you get to Tip 4.

Bike Rack Maintenance Pro Tip #3: Apply Dry Graphite to the Track Created by the Center Pin
Is your slide path a little sticky? Over time, the center pin of your VelociRAX bike rack can create a small track on the slide path of the rack. To restore it to a smooth pin motion when you release your lever, you’ll need to:
-
Rub some dry graphite on the track path. Be careful. Dry graphite can be messy and hard to control. We recommend squeezing a lot on the track and then using your finger to rub it in.
-
Rub a little bit of dry graphite on the center pin as well.
The dry graphite will smooth the track, creating a smooth pin motion.

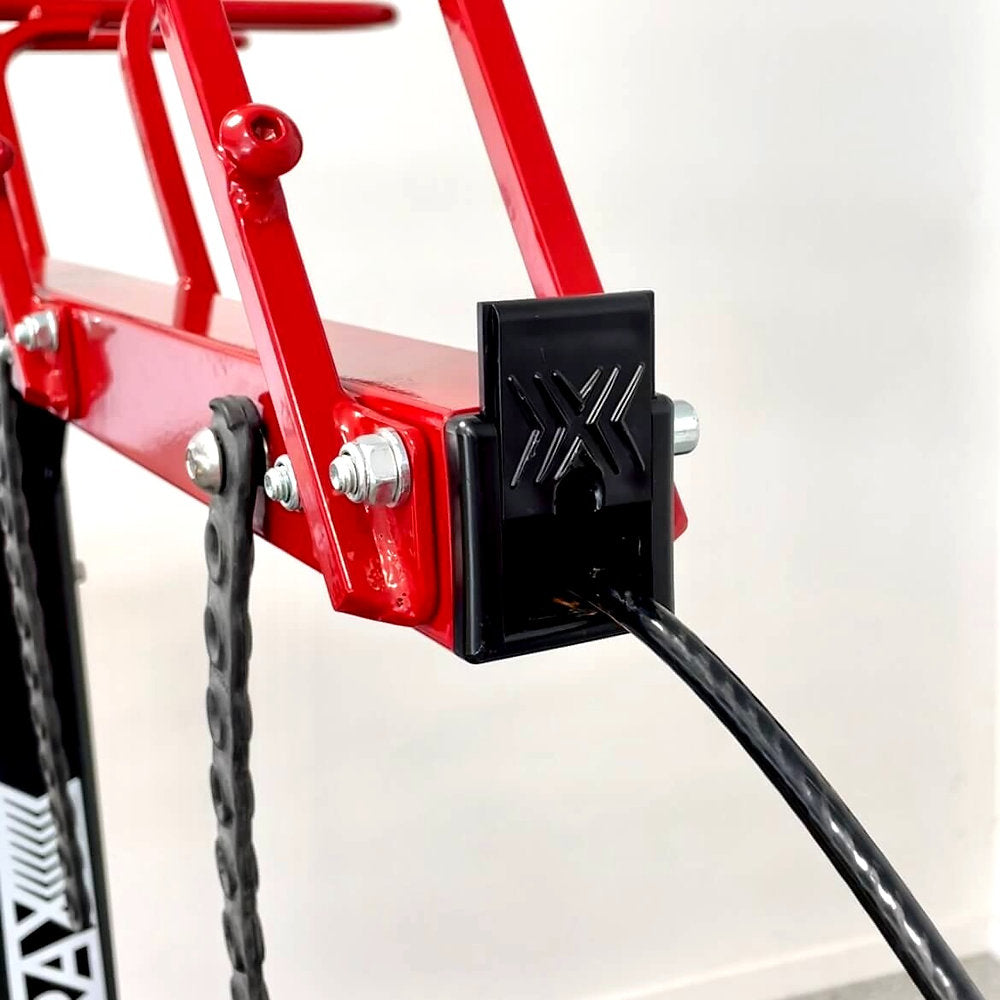
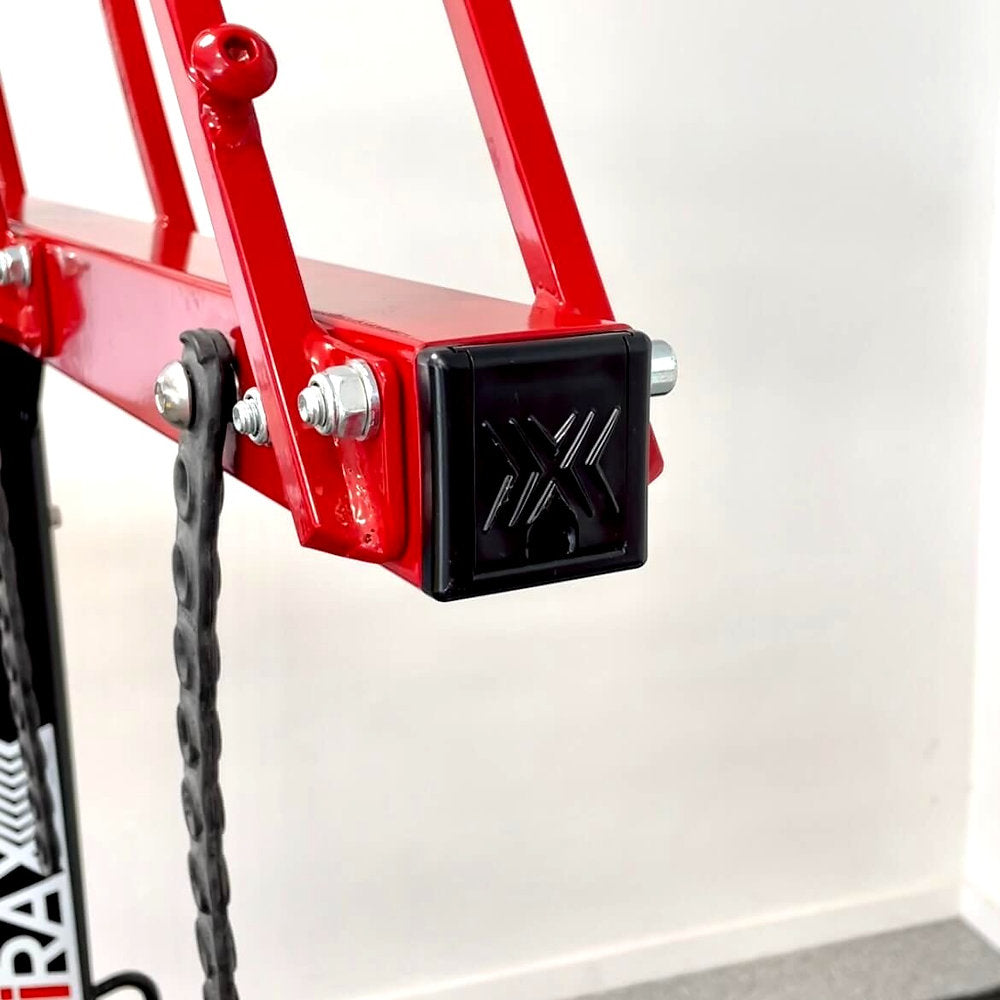
Bike Rack Maintenance Pro Tip #4: Put Anti-Seize on Your Anti-Rattle Bolt
Applying Anti-Seize on your anti-rattle bolt will keep the anti-rattle from seizing up, especially when exposed to dirt and grime. The Anti-Seize will make it easy to tighten and loosen the bolt during the season. To do this, we recommend you follow these steps:
-
Flip the rack upside down (resting on the baskets) so that you can easily access the anti-rattle bolt and wedge.
-
Untighten the anti-rattle bolt all the way using your 17 mm wrench or socket. (This may take a hot second because the thread is really long.) Hold onto your wedge and note where the spring is when the bolt is almost free.
-
Take the wedge off and set it down somewhere close for easy access.
-
Take the anti-rattle bolt completely out.
-
Apply the anti-seize onto the end of the threads. You can roll the threads right on the end of your anti-seize. Cover sufficiently.
-
Put the bolt back into the rack and push it through so that you see it on the other side.
-
With the spring in place, put the bolt back in its place on your wedge.
-
Put the wedge back on the rack.
-
Flip the rack back over.
Watch Us Apply Anti-Seize to the Anti-Rattle Bolt
This bike rack maintenance tip can be more involved, so we recommend watching how we do it in the video below:
Bonus Bike Rack Maintenance Beauty Tip #5: Look for Scratches on Your Rack
Some may see it as battle scars; others might want to spruce up the old girl. Using the touch-up paint actually prevents rust, so we recommend doing it. You can buy matching Touch-Up Paint from our online shop. A little dab will cover unsightly scratches to prevent rust and make your VelociRAX bike rack look like new.
Watch Our Full Video for Spring Bike Rack Maintenance
Have other questions about your VelociRAX bike rack? Check out our FAQ on our most common customer questions.
Other Frequently Asked Questions About Bike Rack Maintenance
A few other common questions people ask about bike rack maintenance:
How do you clean a bike rack?
Weather and camping can make your rack dirty. Spray down your rack with water or a water-soluble solution. No need to get fancy, you can use a wet rag for tough dirt or grime. Hey, if your rack needs a cleaning, you’re doing something right.
Can bike racks go through the car wash?
ABSOLUTELY NOT! Don’t do it. It will mess up your rack, your car, and possibly the car wash. Don’t push your luck. Just use a hose when you get home. It’s not worth it, man. Game over.
Is it OK to leave a bike rack on a car?
Yes. We often have our rack on all year. SkiRAX for the winter and bike hoops in the spring. The VelociRAX is a one-stop shop for mountain adventurists.

See, Easy as a Green Trail—Now It’s Time to Ride!
Giving your bike rack a little springtime TLC will extend its life. A few minutes of bike rack maintenance can really boost your VelociRAX bike rack’s performance and longevity. We’ll see you on the mountain. Get outside and enjoy the ride!
Check out our Bike Rack Maintenance: The Ultimate Guide for more maintenance tips.